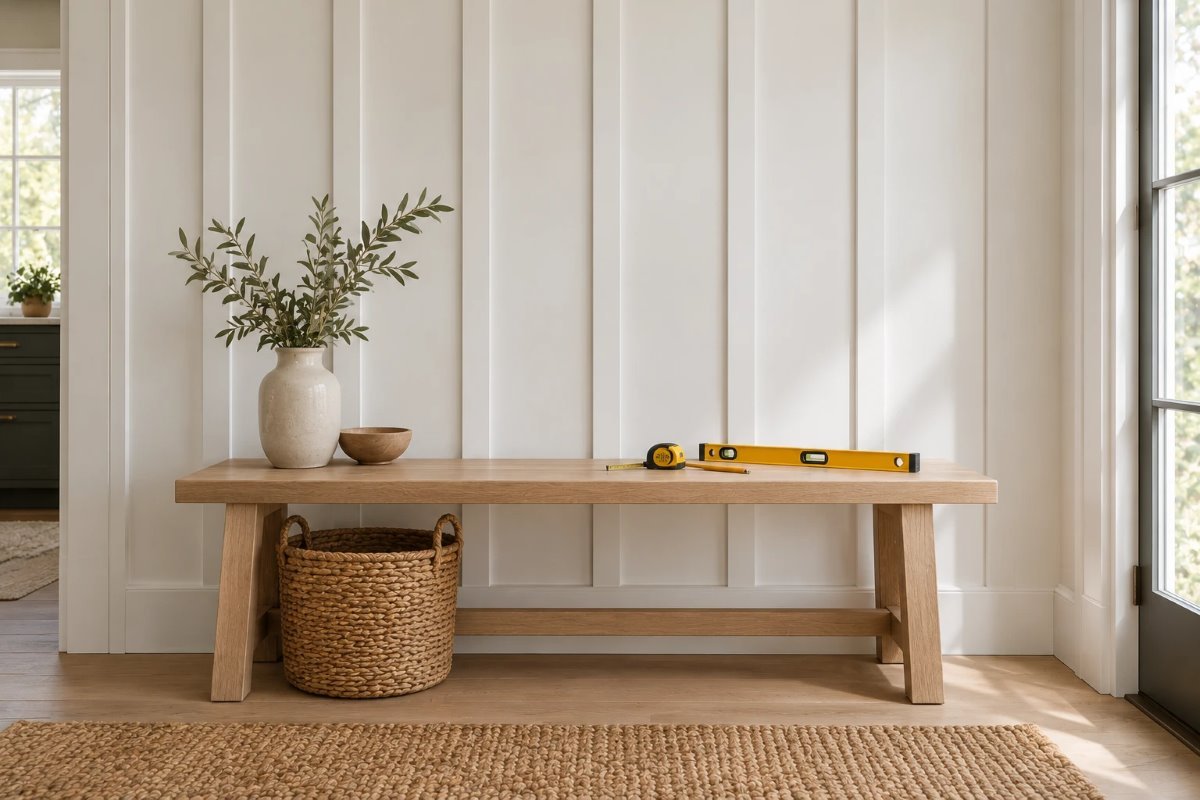
Board and batten looks simple, but it is the spacing that makes it look expensive or sloppy. Battens that are too close look busy, battens that are too far apart look bare, and a thin sliver at the end of a wall gives the whole project away. Good board and batten spacing starts with one number, usually 12 to 16 inches from the center of one batten to the center of the next, and one bit of math to make both ends of the wall match.
This guide gives you the numbers, a worked example for any wall, a quick spacing chart and the mistakes to avoid. It is general DIY guidance, so check the math against your own wall.
Quick Answer: Board and Batten Spacing
- Common range: 12 to 16 inches, measured center to center.
- Narrower (about 8 to 12 inches) looks more traditional; wider (14 to 16 inches or more) looks more modern.
- Easy math: wall width divided by spacing gives the number of gaps; round it, then recompute the spacing.
- Battens needed: gaps plus one.
- Overlap: battens should cover the board edges by at least about half an inch.
What Board and Batten Is
Board and batten is a wall or siding style made of wide vertical boards, or a flat panel, with narrow strips called battens covering the seams or spaced across the surface. Inside the house, many people use thin MDF strips on a painted wall to get the look at low cost. The look depends almost entirely on board and batten spacing, because the pattern repeats across the whole wall.
The Basic Rule
Spacing is measured from the center of one batten to the center of the next. A common range is 12 to 16 inches. Traditionally, the spacing matched the width of the boards, so 12-inch boards meant batten spacing of about 12 inches. Sixteen inches is also popular because it matches the usual distance between wall studs, which makes the battens easy to nail into the framing.
Easy Spacing Math
Use this simple method for any wall. The worked examples are my own arithmetic.
- Measure the wall width in inches.
- Choose a target spacing, such as 12 or 16 inches.
- Divide the width by the target to get the number of gaps, and round to a whole number.
- Divide the width by that whole number to get your real spacing.
- The number of battens is the gaps plus one, since you need one at each end.
Example, a 120-inch (10-foot) wall:
- At 12 inches: 120 divided by 12 is 10 gaps, so 11 battens at exactly 12 inches.
- At 16 inches: 120 divided by 16 is 7.5, so round to 8 gaps and use 120 divided by 8, or 15 inches, with 9 battens.
Using the math keeps board and batten spacing even and avoids a thin sliver at one end.
Spacing Chart
Use this chart as a starting point. Values are rules of thumb.
| Wall width | Target spacing | Gaps | Real spacing | Battens |
|---|---|---|---|---|
| 96 in (8 ft) | 12 in | 8 | 12 in | 9 |
| 96 in (8 ft) | 16 in | 6 | 16 in | 7 |
| 120 in (10 ft) | 12 in | 10 | 12 in | 11 |
| 120 in (10 ft) | 16 in | 8 | 15 in | 9 |
| 144 in (12 ft) | 12 in | 12 | 12 in | 13 |
| 144 in (12 ft) | 16 in | 9 | 16 in | 10 |
Batten and Board Widths
Battens are often about 1.5 to 3.5 inches wide, and boards or gaps are about 9 to 11 inches for a classic look. A wider batten looks bolder, and a thinner one looks more delicate. Keep the batten width the same across the wall and match the spacing to the room: tighter in a small entry, wider in a large living room.
Centering the Pattern
For a wall with a window or door, decide whether to center the pattern on the wall, on the window or start at a corner. Many people center the layout on the main wall and let the ends fall evenly. Sketch it on paper first, and mark the battens with a pencil and a level before you nail anything.
Studs, Adhesive and Fastening
Use a stud finder to mark the studs. Sixteen-inch board and batten spacing can land on studs, which makes nailing simple. For 12-inch spacing or other layouts, use construction adhesive and brad nails into the drywall, and nail into studs where you can. Check for wires and pipes before you nail.
Best Walls for Board and Batten
Board and batten suits entryways, hallways, dining rooms, bedrooms, mudrooms and stair walls, and the vertical lines make ceilings feel taller. For a small entry, see our guide to small entryway ideas for apartments, and add a row of hooks on the top rail.
Height of the Pattern
Many people run board and batten about two-thirds of the way up the wall, with a top rail, while others take it to the ceiling for a taller look. Pick a height that lines up with a window sill or chair rail if you can. A two-thirds height with a top ledge also gives you a shelf for small decor.
Other Wall Trim Layouts
If vertical battens are not right for you, try a framed box pattern instead. It is quick and works with modern or traditional rooms; see our picture frame molding ideas for how to place the boxes.
Painting the Wall
Fill nail holes, caulk where the battens meet the wall, and prime before painting. Satin or semi-gloss wipes clean, and a roller with a small brush for the edges gives a smooth finish. For crisp lines, follow our accent wall painting tips.
Doing This as a Renter
Renters can use peel-and-stick panels, lightweight kits or thin strips held with removable adhesive if the landlord allows. Avoid nailing into the wall without permission, and keep the strips so you can remove them when you leave.
Budget and Timing
MDF strips and primer cost little, and solid wood costs more. A small accent wall usually takes a weekend. For ways to save, see our guide to farmhouse kitchen ideas on a budget. Buy about 10 percent extra material for waste.
Where to Start If This Is Your First Time
Measure the wall, do the math on paper and cut a few battens to test. Tape strips to the wall with painter’s tape at your chosen spacing and look at them from across the room. This is the easiest way to test board and batten spacing before you nail anything.
Safety
Wear a dust mask and safety glasses when cutting, check for wires and pipes before nailing, and keep power tools unplugged when changing blades. Paint in a ventilated room.
Quick Recap
Pick 12 to 16 inches center to center, divide the wall width by it, round to whole gaps and recompute so both ends match. Board and batten spacing is mostly arithmetic and a good level.
Spacing Around Windows, Doors and Outlets
Plan the pattern around obstacles. A batten should not land half on a switch or outlet, so shift the layout a little if needed. Around a window or door, end the pattern at the frame with a full batten. If a thin gap is unavoidable, hide it in a corner or behind furniture. Careful board and batten spacing around openings is what makes a wall look professional.
Common Mistakes to Avoid
- Skipping the math. A thin sliver at one end looks wrong.
- Measuring edge to edge instead of center to center.
- Not using a level. The pattern will drift.
- Skipping caulk. Gaps show once painted.
FAQs
How far apart should battens be? About 12 to 16 inches, center to center.
What spacing looks modern? Wider spacing, around 14 to 16 inches or more.
What spacing looks traditional? Narrower spacing, around 8 to 12 inches.
How many battens do I need? The number of gaps plus one.
Do battens have to hit studs? No, adhesive and brad nails work, but studs are stronger.
How wide should a batten be? Often about 1.5 to 3.5 inches.
Tools and Basics to Gather
A tape measure, level, pencil, stud finder, saw, brad nailer or hammer, construction adhesive, wood filler, caulk, primer, paint, brushes, painter’s tape, dust mask and safety glasses.
The Bottom Line
Good board and batten spacing is simple: choose 12 to 16 inches center to center, divide the wall by that number, round to whole gaps and recompute so both ends match. Test it with tape, find the studs and finish with caulk and paint. The result is a wall that looks planned and professional.
Related:
Picture Frame Molding Ideas · Accent Wall Painting Tips for a Clean Finish