A backsplash that stops in the wrong place is easy to notice: a thin strip that leaves paint splattered, or tile that ends halfway up the wall in a way that looks accidental. The right backsplash height above counter depends on your cabinets and your stove, but the numbers are simple: about 4 inches is the minimum, about 18 inches usually reaches the upper cabinets, and behind a range it often goes higher.
This guide gives you those numbers, a chart, tips for tile layout and safety, and the mistakes to avoid. Sources disagree on exact figures, so treat everything here as a convention and check your range manual and local code.
Quick Answer: Backsplash Height Above Counter
- Minimum: about 4 inches, a short strip along the counter.
- To the cabinets: about 15 to 18 inches in most kitchens, up to about 24 inches if the cabinets are higher.
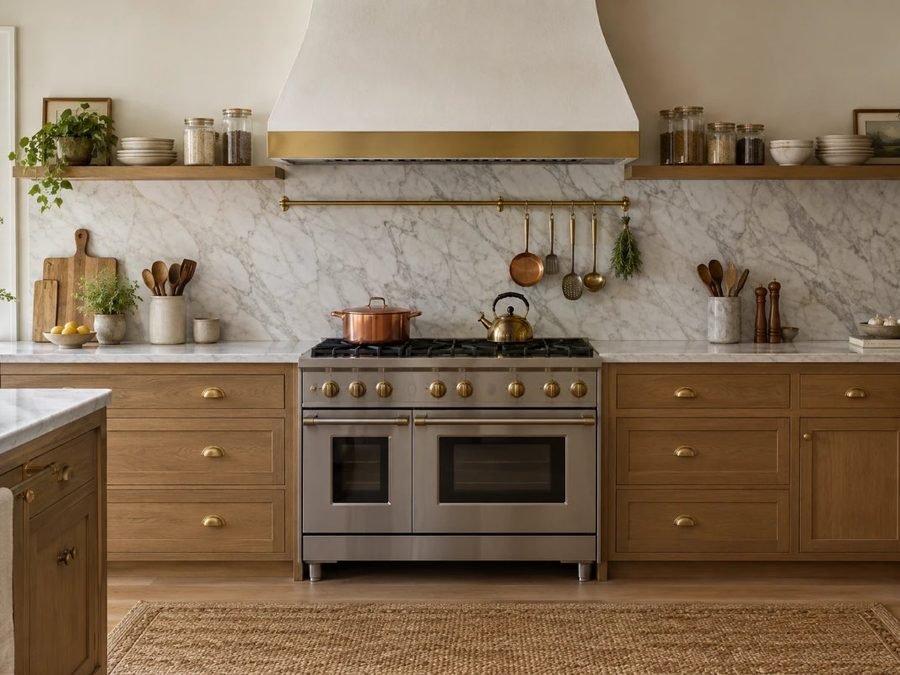
- Behind the range: often 30 to 36 inches, or up to the range hood, and many designers carry it to the ceiling.
- Open shelves or no uppers: consider running tile higher, or to the ceiling, for a finished look.
- Safety: behind a stove, check local code and the range manual for non-combustible surface requirements.
Why Height Matters
A kitchen wall behind the counter takes splashes of water, oil and sauce, so the surface needs protection. Backsplash height above counter decides how much of that wall is protected and how finished the room looks. A short strip is cheaper and faster, while a full-height backsplash protects more wall and looks more deliberate.
Height Chart
Use this chart as a starting point. All values are conventions and rules of thumb.
| Situation | Backsplash height above counter | Notes |
|---|---|---|
| Minimum strip | About 4 in | Budget and simple looks |
| Counter to upper cabinets | About 15 to 18 in | Most common; up to about 24 in |
| Behind the range | About 30 to 36 in, or to the hood | Check code and range manual |
| Full height | To the ceiling | Behind the range or on open walls |
| Open shelves or window walls | Plan with the layout | Tile can run to the shelf or window |
Measure from the top of the counter, and check your own cabinet height, since the gap varies.
How to Measure
Measure from the finished counter surface to the bottom of the upper cabinets at several points, since counters and cabinets are not always level. Use the smallest number as your limit. Then measure behind the range from the counter to the bottom of the hood. Write down both numbers before you order tile, and add a small margin for cuts.
Counter to Cabinets
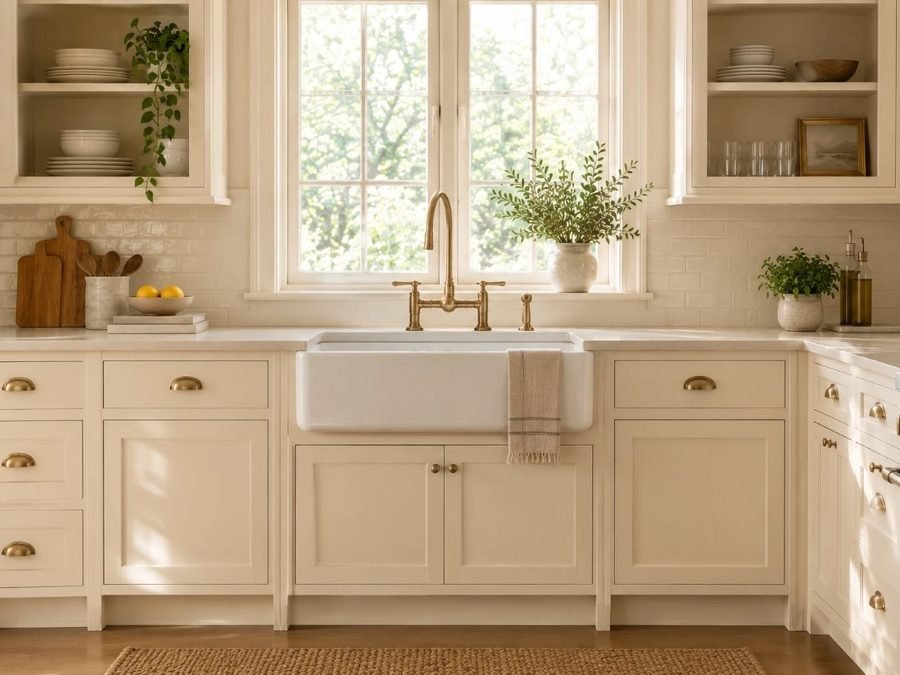
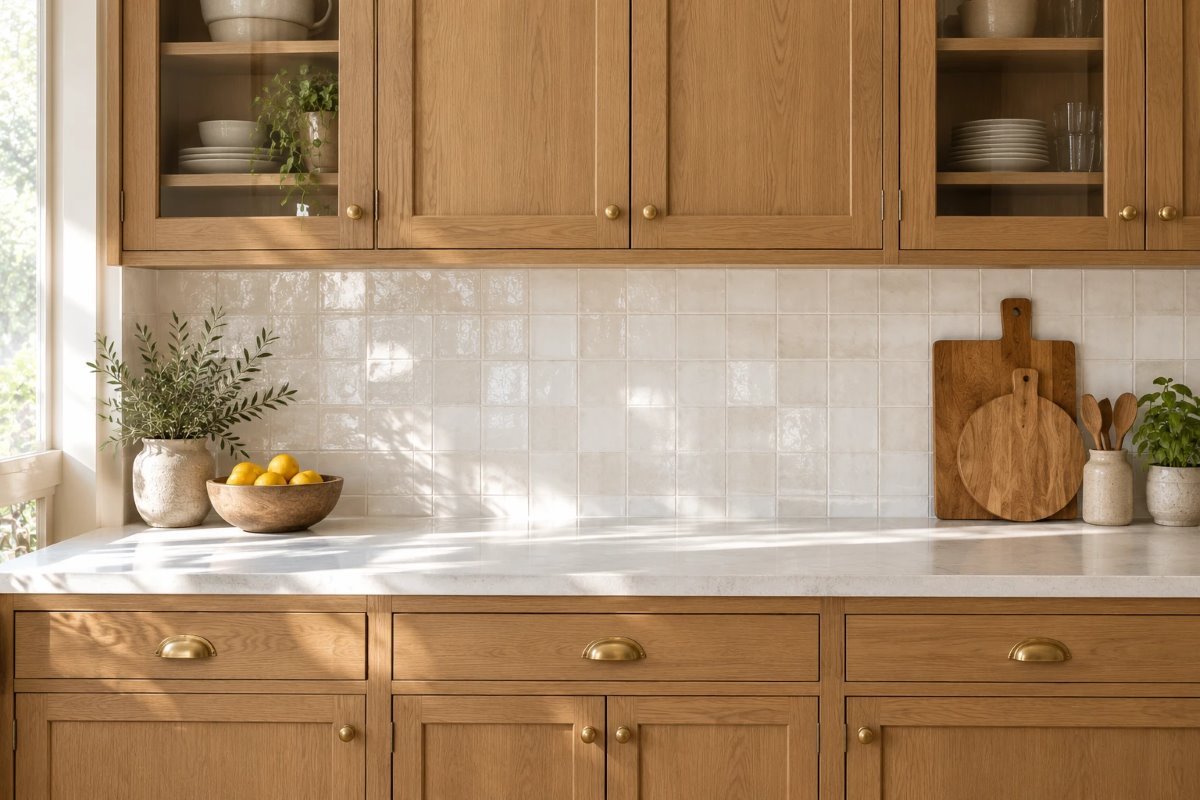
The most common backsplash height above counter runs from the counter straight up to the bottom of the upper cabinets, usually about 15 to 18 inches. This gives you a clean, continuous surface and means you never see an awkward gap between the tile and the cabinet. Seal the joint with caulk and not grout.
Behind the Stove
Behind a range or cooktop, many guides suggest tile of about 30 to 36 inches or up to the range hood, and many designers extend it past the hood to the ceiling for a unified look. Inspectors and designers often expect a non-combustible surface behind a cooktop, so check your local code and the manufacturer’s clearance specs before finalizing.
Full-Height Backsplash
A full-height backsplash runs to the ceiling or the bottom of a hood. It looks dramatic and protects more of the wall, and it is a good choice where there are no upper cabinets, such as around a range or beside a window. It uses more tile, so it costs more.
Short Backsplash
A short backsplash of about 4 inches is simple and inexpensive and can be made from the same material as the counter. Many people prefer it for a minimal look, but the wall above stays exposed to splashes, so use a durable, washable paint.
Outlets, Windows and Switches
Plan the tile around outlets, switches and windows. Use outlet extenders so the plates sit on top of the tile, and let the tile run to the window frame or to a shelf if one is there. Turn off the power at the breaker before you remove outlet covers, and ask an electrician for any wiring changes.
Choosing Tile and Color
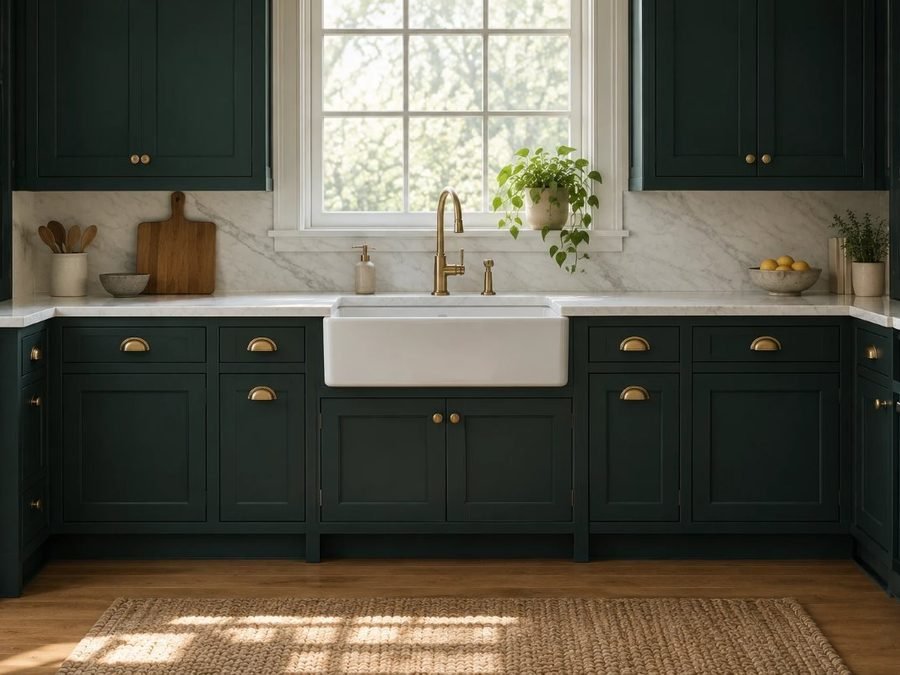
White and cream subway tile are classic, and handmade-style or textured tile adds depth. Choose a color that suits your cabinets and counters; our kitchen cabinet colour ideas show pairings that work, and our modern farmhouse kitchen ideas show how warm tile and wood go together. Whatever you choose, plan the backsplash height above counter first, so the pattern ends in a sensible place.
Layout and Grout
Start the layout from the center of the main wall so cuts at the ends are even, and use a level for the first row. Use spacers for even grout lines, and seal grout if it needs it. Where the tile meets the counter or cabinet, use caulk, since it moves with the seasons and grout can crack.
Doing This as a Renter
Renters can use peel-and-stick tiles or a washable adhesive panel, if the landlord allows it. Choose a product that peels off cleanly and keep the original wall painted in a washable finish. Always ask first.
Budget and Timing
A short backsplash costs very little, while full-height tile costs more because it uses more material. A small kitchen backsplash can take a weekend, with extra time for grout to cure. For ways to save, see our guide to farmhouse kitchen ideas on a budget. Buy about 10 percent extra tile for cuts.
Where to Start If This Is Your First Time
Mock up the height with painter’s tape or paper at the wall, and look at it from the doorway. Check the range manual for clearance. This is the easiest way to decide the backsplash height above counter before you buy any tile.
Safety
Wear safety glasses and a dust mask when cutting tile, turn off power before working near outlets, and keep flammable items away from the stove while you work. Follow the adhesive and grout directions on the package and ventilate the room.
Quick Recap
Measure from the counter to the cabinets, use about 15 to 18 inches in most kitchens and go higher behind the stove after checking code. The right backsplash height above counter is a mix of your cabinets, your range and your style.
Matching the Backsplash to the Rest of the Kitchen
Keep the backsplash height above counter consistent along the whole wall, and let the tile finish at a natural line such as a cabinet bottom, a window sill or a shelf. If the kitchen opens to a living area, end the tile at a clean edge so the transition looks planned.
Common Mistakes to Avoid
- Stopping the tile at an odd height with no reason.
- Forgetting the range manual and code behind the stove.
- Not planning around outlets and windows.
- Grouting the joint between tile and counter instead of caulking.
FAQs
What is the standard backsplash height? Often about 15 to 18 inches, to the upper cabinets.
How short can a backsplash be? About 4 inches.
How high behind the stove? Often 30 to 36 inches or up to the hood.
Should the backsplash go to the ceiling? It can, behind the range or on open walls.
Do I need a non-combustible surface behind a range? Often yes; check code and the range manual.
Should I caulk or grout the counter joint? Caulk.
Tools and Basics to Gather
A tape measure, level, pencil, painter’s tape, tile spacers, a tile saw or cutter, notched trowel, grout and caulk, safety glasses and a dust mask.
The Bottom Line
The backsplash height above counter that works for most kitchens is from the counter to the bottom of the upper cabinets, about 15 to 18 inches, with a taller panel behind the stove. Measure at several points, check your range manual and mock it up with tape. The result is a kitchen that is easy to clean and looks finished.
Related:
Kitchen Cabinet Colour Ideas · Modern Farmhouse Kitchen Ideas